วันพฤหัสบดีที่ 1 สิงหาคม พ.ศ. 2556

Folder and Printer Sharing


Folder and Printer Sharing


1. FOLDER SHARING

Be sure we have to specify what folder that we want to share? 
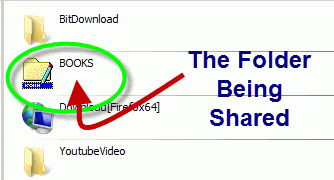


  "BOOK" is the folder of us to be shared.
Make a right clicking with the folder, the dialogue box appears. Select the "Sharing" tab and the "Advanced Sharing" button
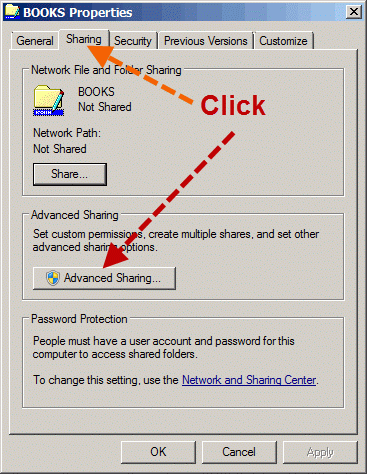
     Now the folder has never been shared yet (Not Shared)

Properties window of the folder appears and we should select to share it with others. Now we can see the maximum number of users to simultaneously enter to the folder is 20. Then we can click on the "Permission" button.
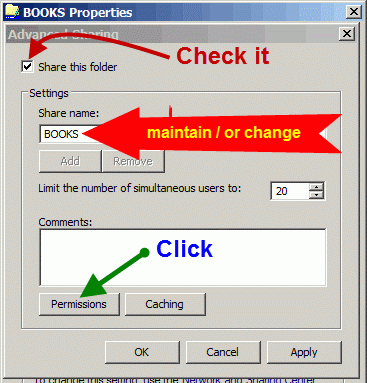
            
 Tick the check-box, and we can change the share name or ignore it.


After clicking on the permission button, the Permissions window shows up, you can add any user e.g. "student" and you can change the permission type of the user.
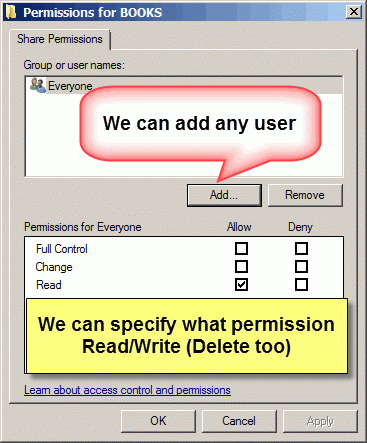

We can add user/ specify his permission level.


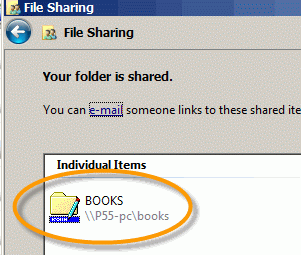
Finally click on the "Apply" button, the folder now has been shared.
2. PRINTER SHARING
Click the "Start button" of Windows7 desktop, the pop-up menu appears, then select "Devices and Printers", the target printer of us will be appeared.
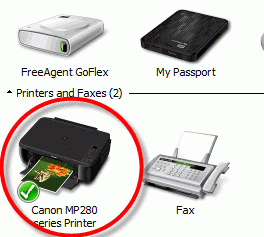


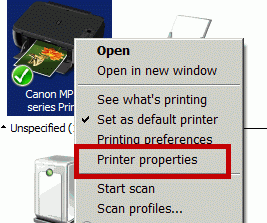
Make a right click on the printer icon, the select menu will show up, then select "Printers properties" option.  Then we can operate sharing easily.
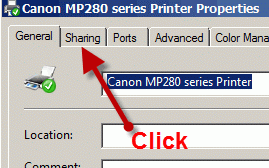
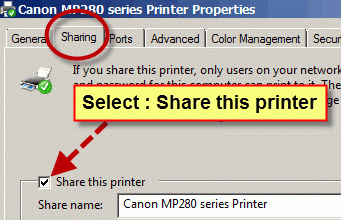
Click on the "Sharing tab", and we can rename the sharing printer.


วันพุธที่ 31 กรกฎาคม พ.ศ. 2556

Visual Basic 6.0 : Exercise 2 " Pizza Order"


Visual Basic 6.0 : Exercise 2 " Pizza Order"


          Exercise 2
                                 Pizza Order Application 

    We had just learned about programming with Microsoft Visual Basic 6.0 and tried to create two Windows applications (using Visual Basic 6.0)


  "Pizza Order" Application
1.Start a new project.  We'll build a form where a pizza order can be entered by simply clicking on check boxes and option buttons.
2.Draw three frames.  In the first, draw three option buttons, in the second, draw two option buttons, and in the third, draw six check boxes.  Draw two option buttons on the form.  Add two command buttons.  Make things look something like this.

3.Set the properties of the form and each control.

  • Form1:
    BorderStyle    1-Fixed Single
    Caption          Pizza Order
    Name            frmPizza
  • Frame1:
    Caption    Size
  • Frame2:
    Caption    Crust Type
  • Frame3
    Caption    Toppings
  • Option1:
    Caption    Small
    Name      optSize
    Value      True
  • Option2:
    Caption    Medium
    Name      optSize (yes, create a control array)
  • Option3:
    Caption    Large
    Name      optSize
  • Option4:
    Caption    Thin Crust
    Name       optCrust
    Value       True
  • Option5:
    Caption    Thick Crust
    Name       optCrust (yes, create a control array)
  • Option6:
    Caption    Eat In
    Name    optWhere
    Value    True
  • Option7:
    Caption    Take Out
    Name       optWhere (yes, create a control array)
  • Check1:
    Caption    Extra Cheese
    Name      chkTop
  • Check2:
    Caption    Mushrooms
    Name       chkTop (yes, create a control array)
  • Check3:
    Caption    Black Olives
    Name       chkTop
  • Check4:
    Caption    Onions
    Name      chkTop
  • Check5:
    Caption    Green Peppers
    Name      chkTop
  • Check6:
    Caption    Tomatoes
    Name      chkTop
  • Command1:
    Caption    &Build Pizza
    Name      cmdBuild
  • Command2:
    Caption    E&xit
    Name      cmdExit

วันจันทร์ที่ 29 กรกฎาคม พ.ศ. 2556

Facebook Head Offie สำนักงานใหญเฟสถถถ


Facebook Head Office สำนักงานใหญ่เฟสบุ๊ก


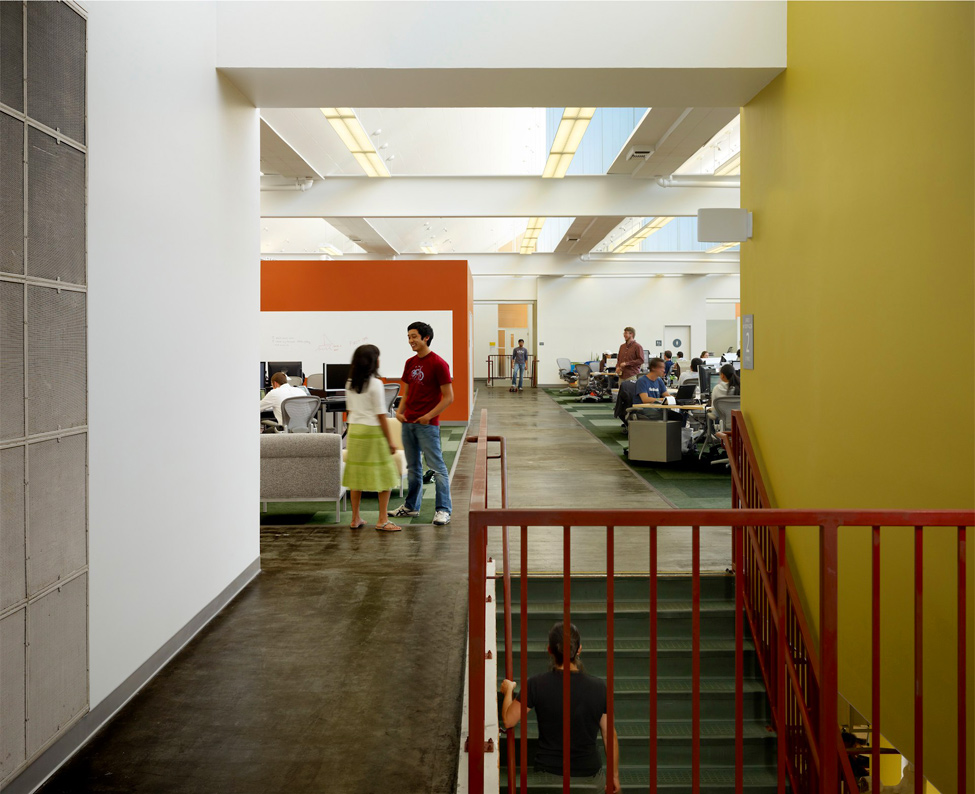
Head Office of Facebook is in Palo Alto, California. 
สำนักงานใหญ่เฟสบุ๊ก  ณ  เมืองพาโลอัลโต มลรัฐแคลิฟอร์เนีย

1309 Head office of Facebook 

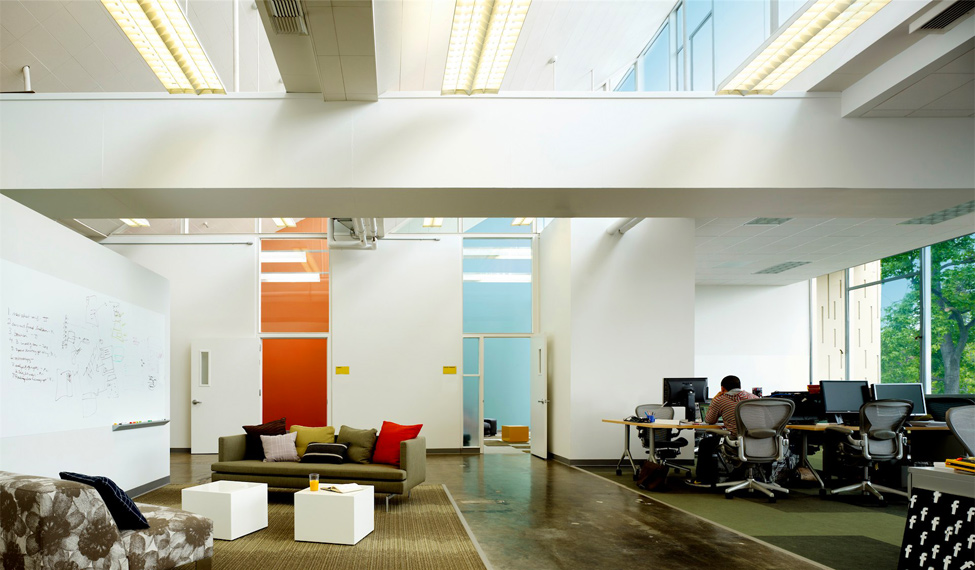
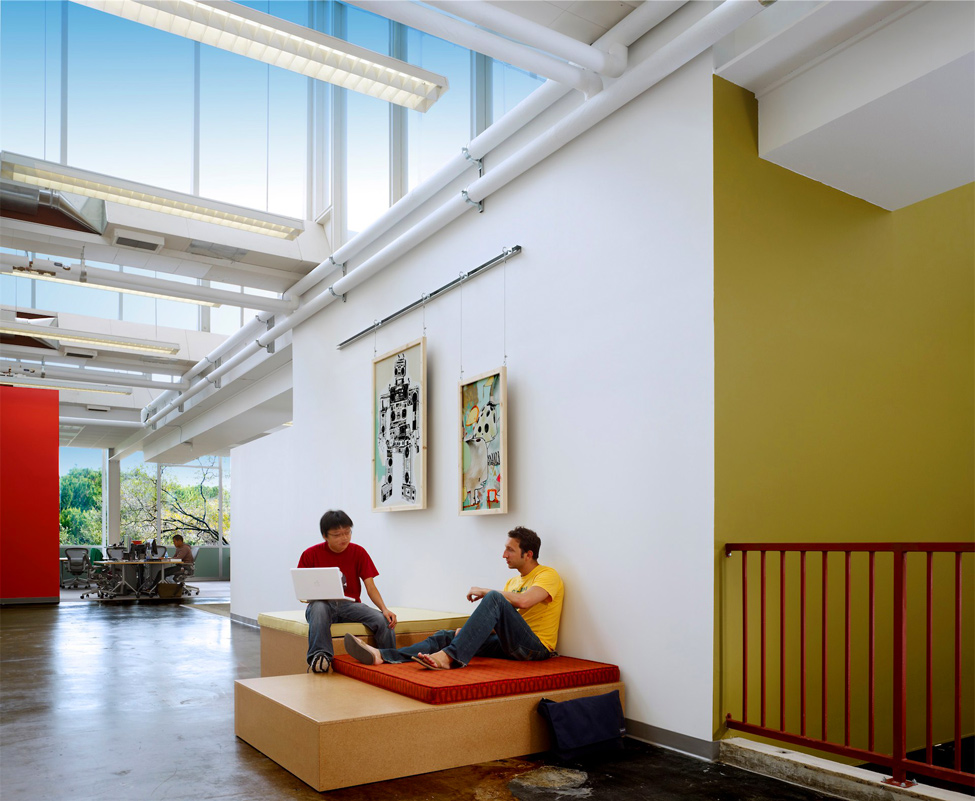
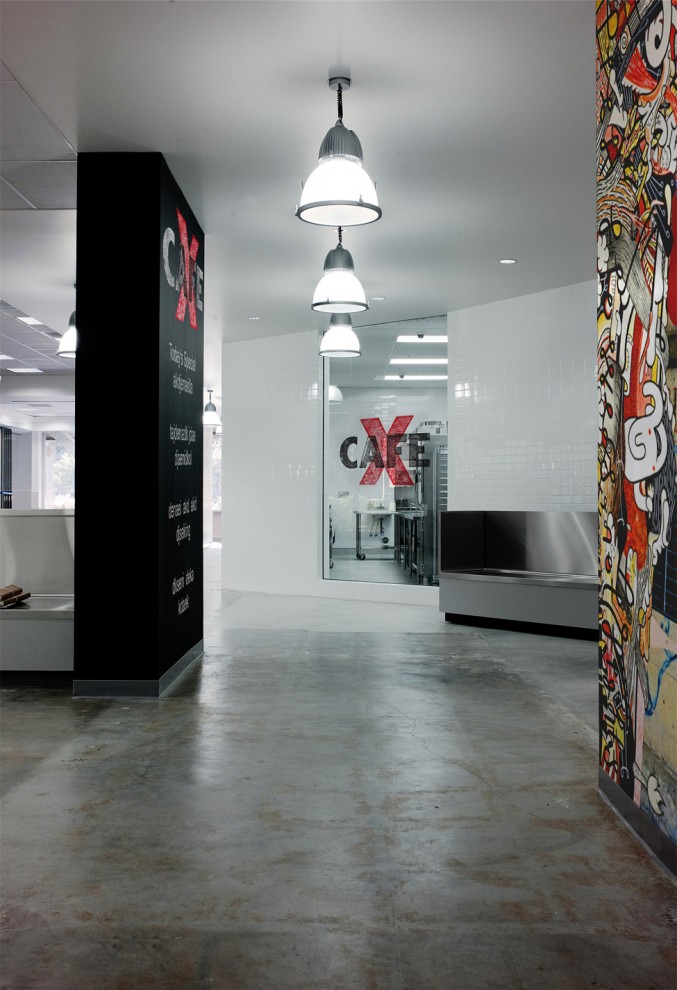
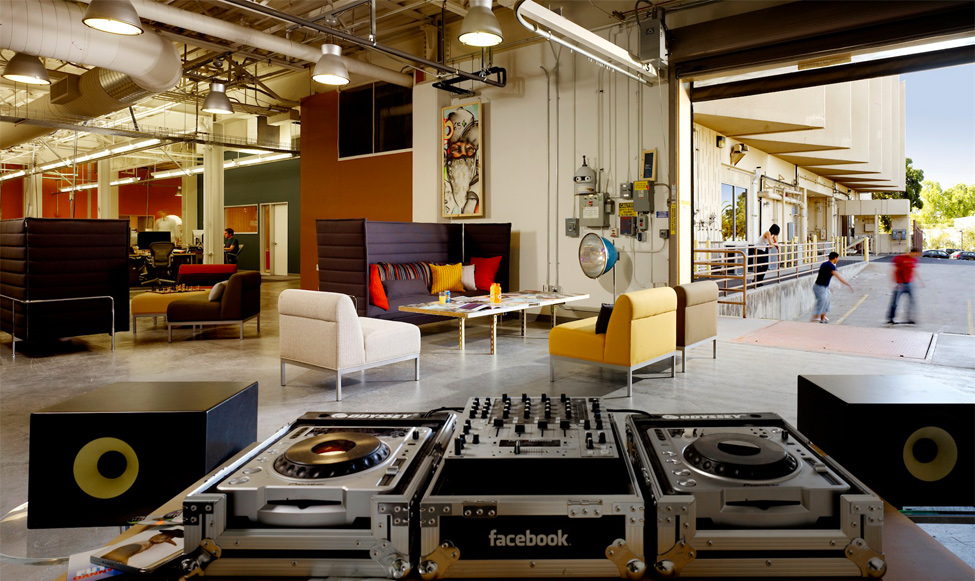
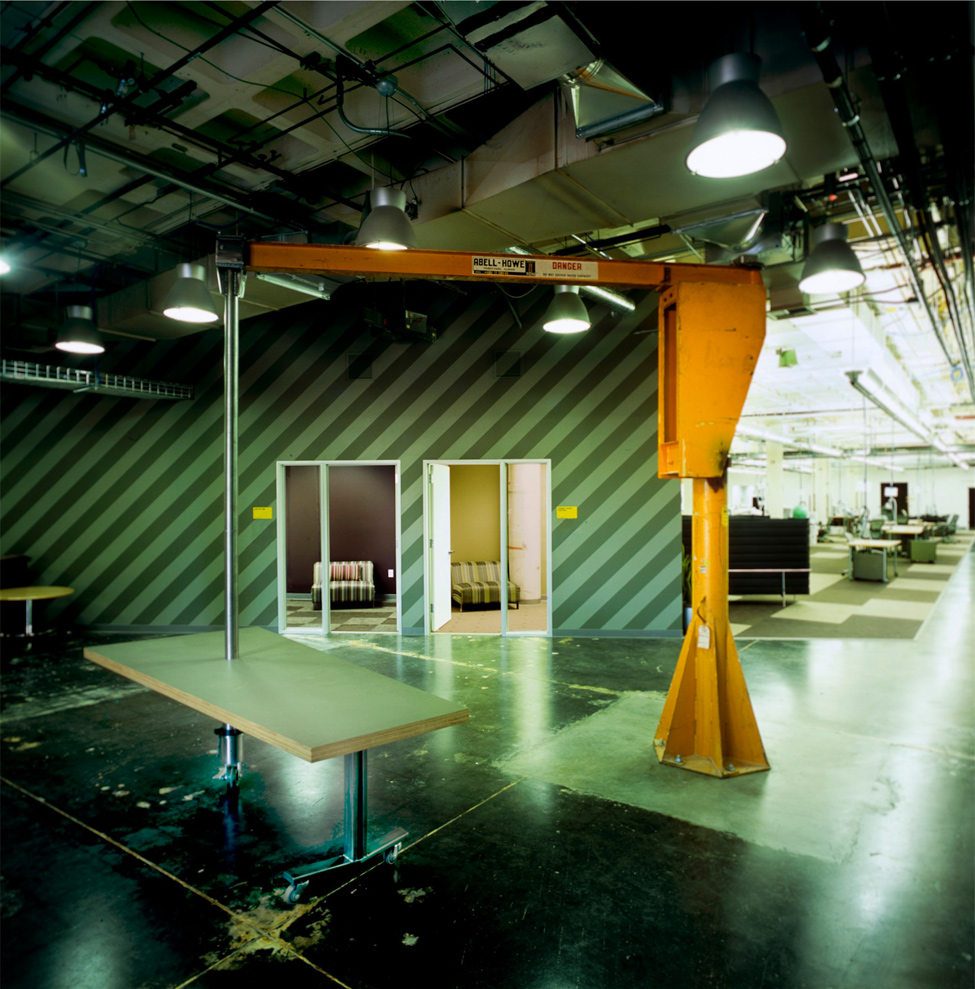
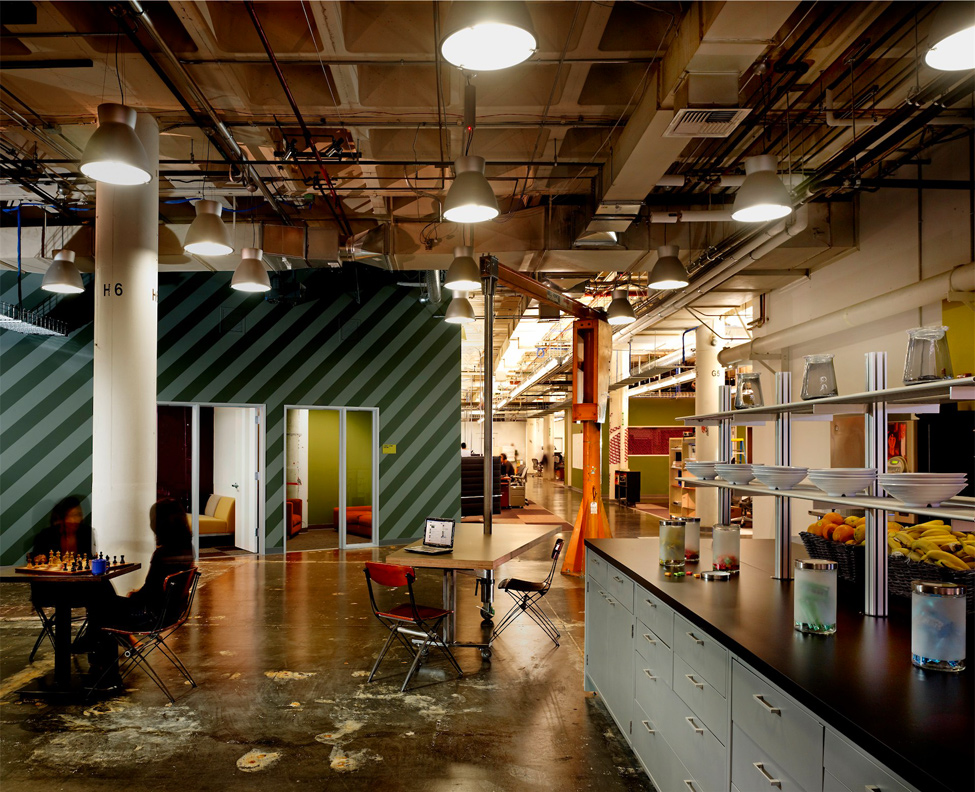
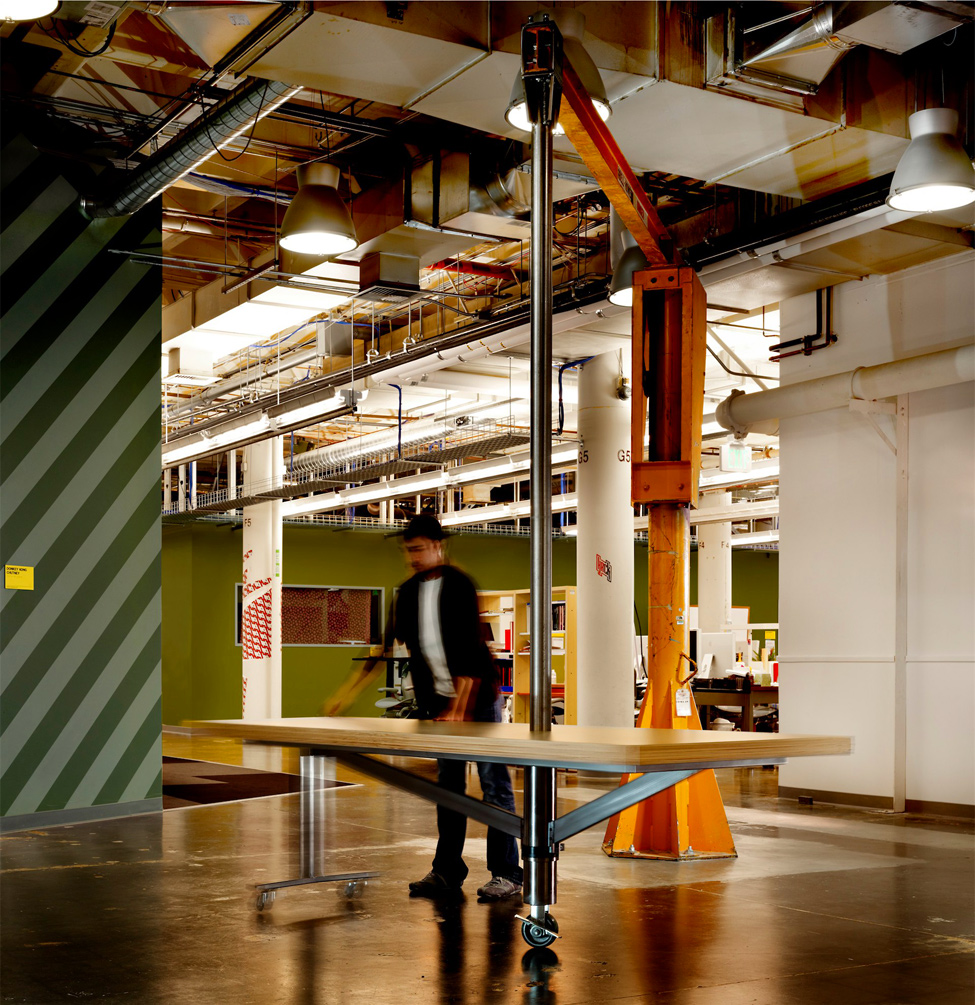
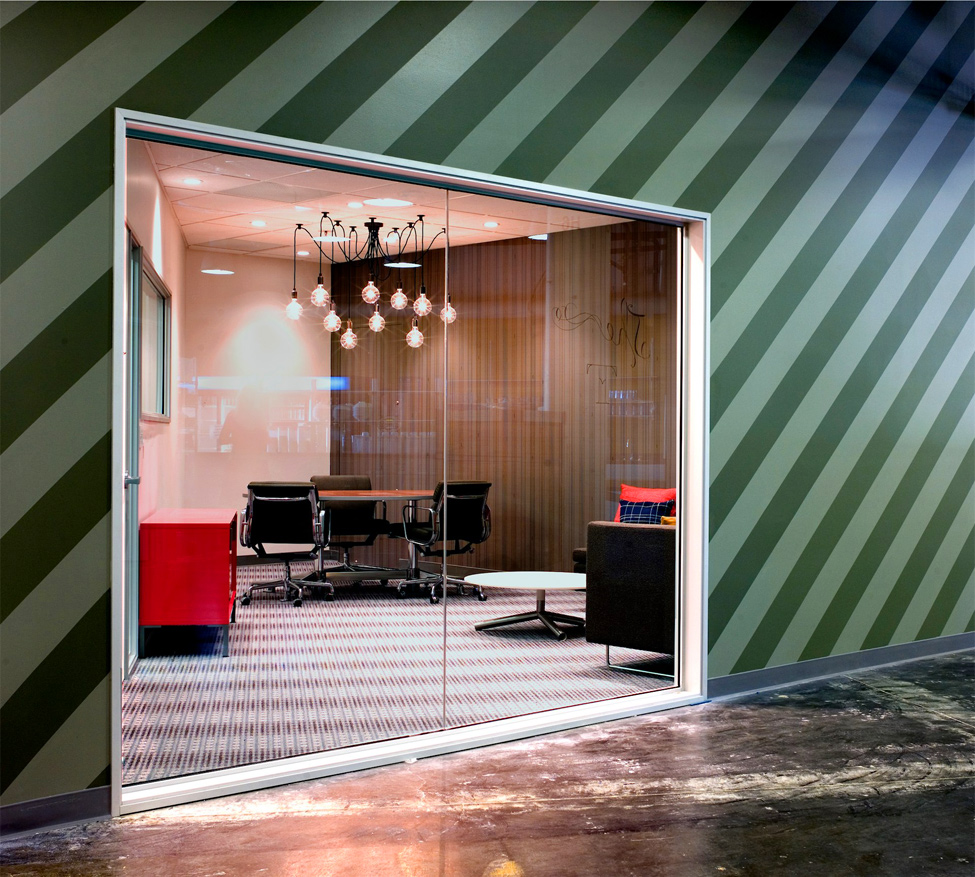
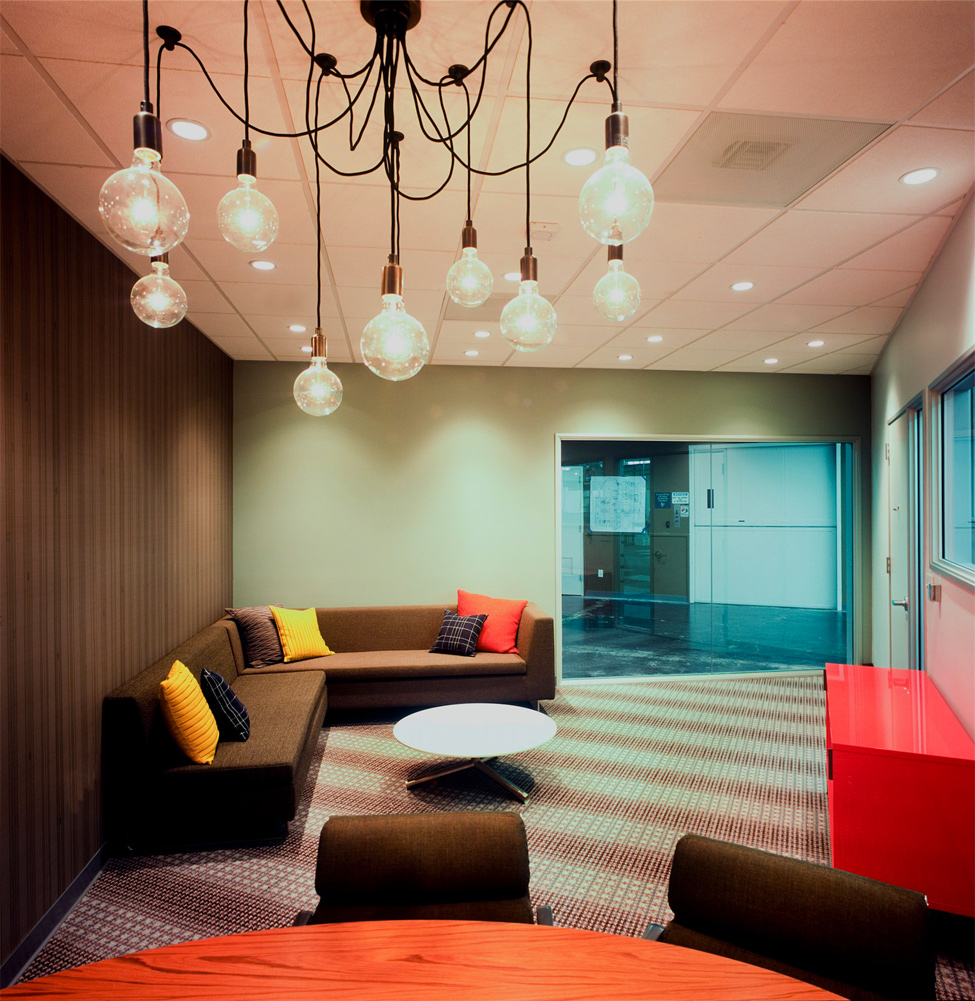
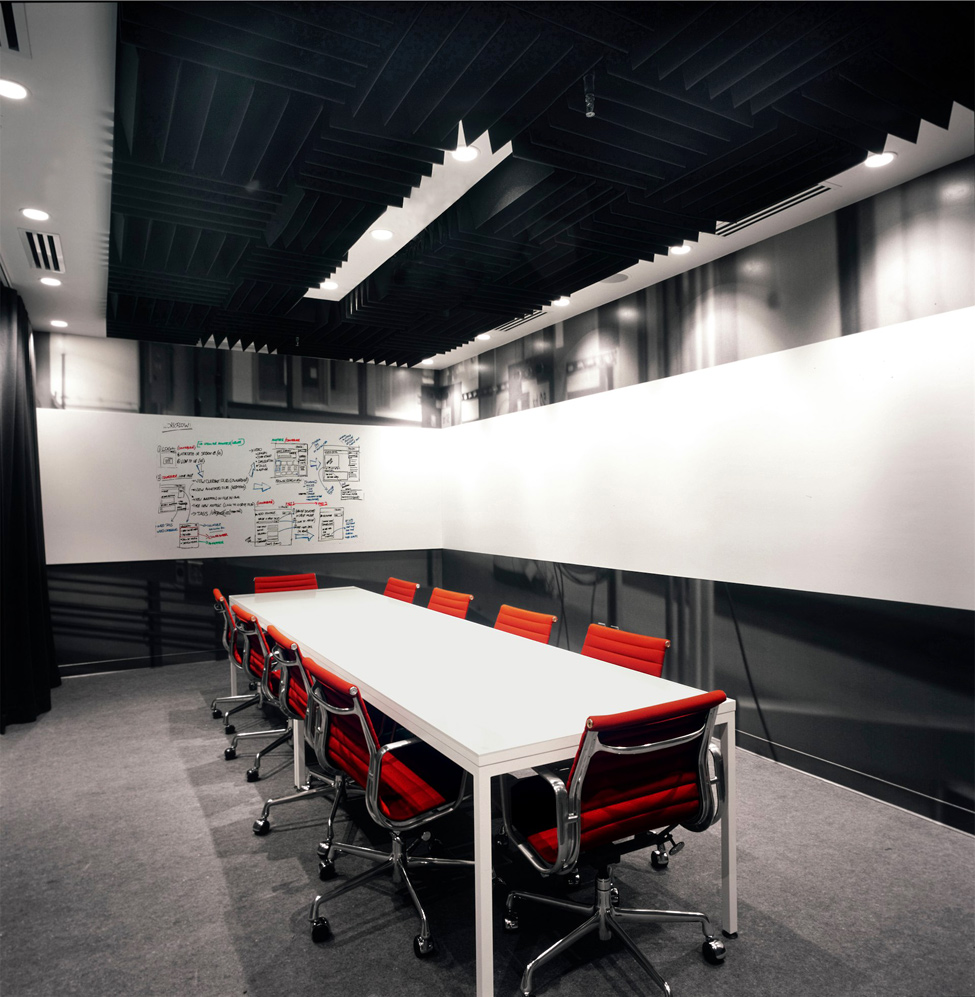
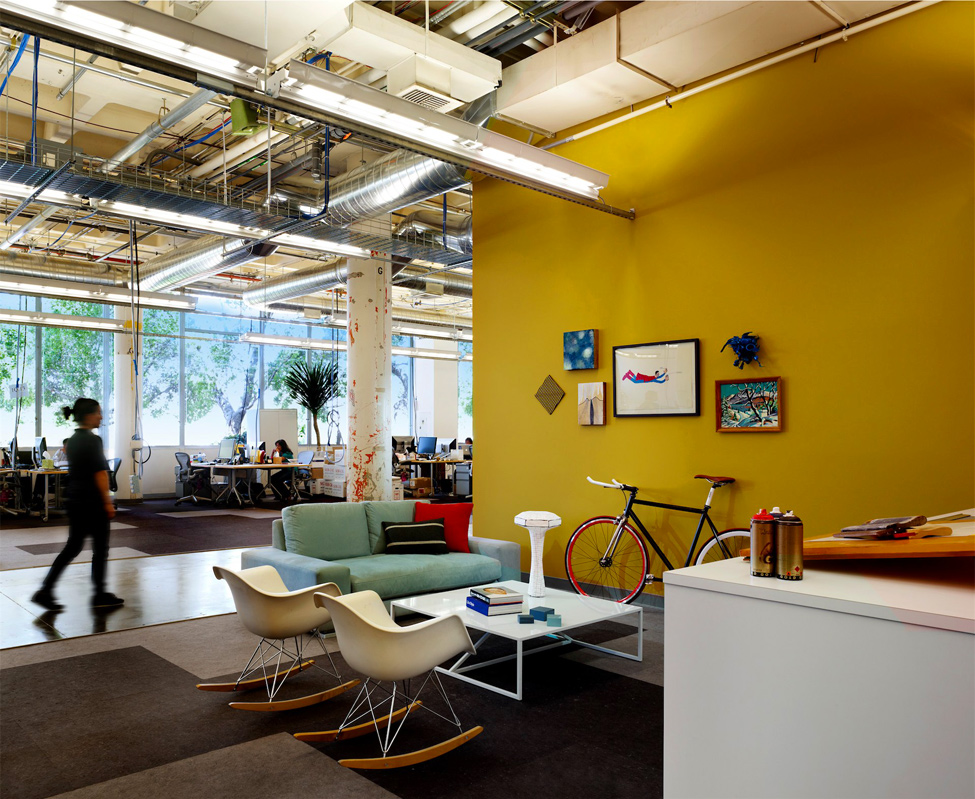
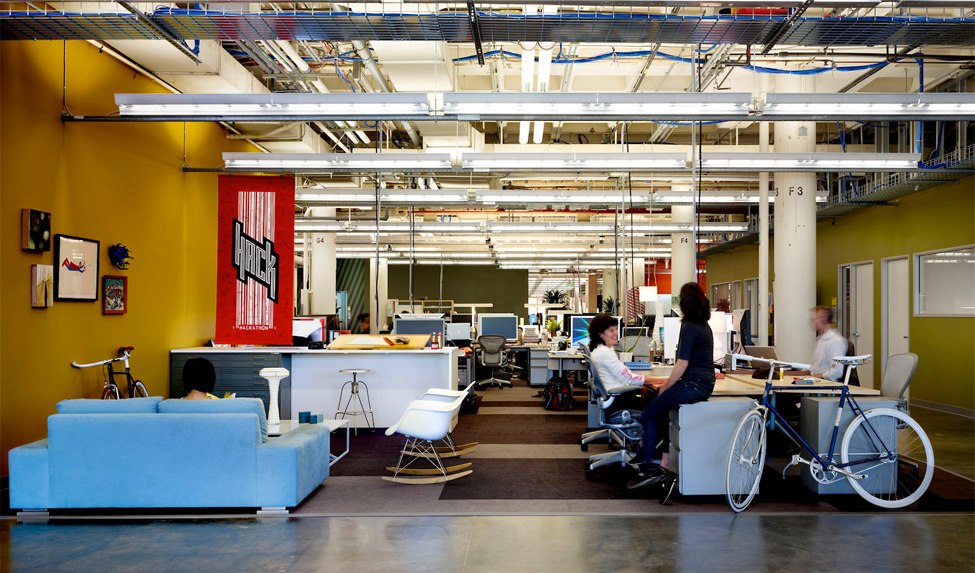
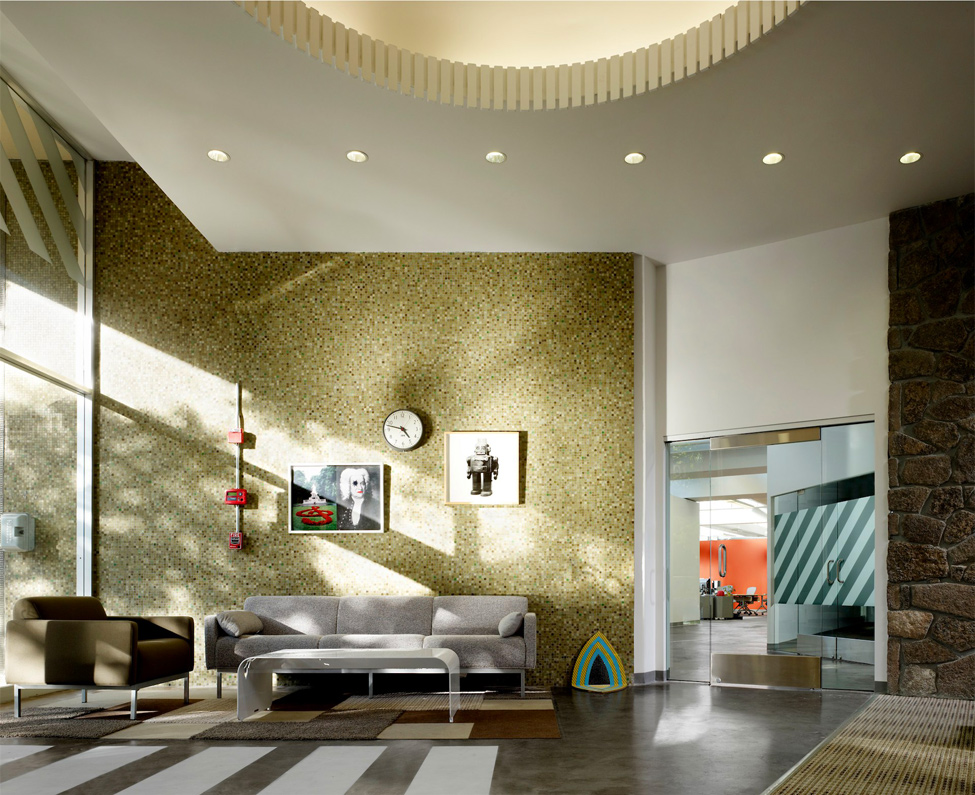
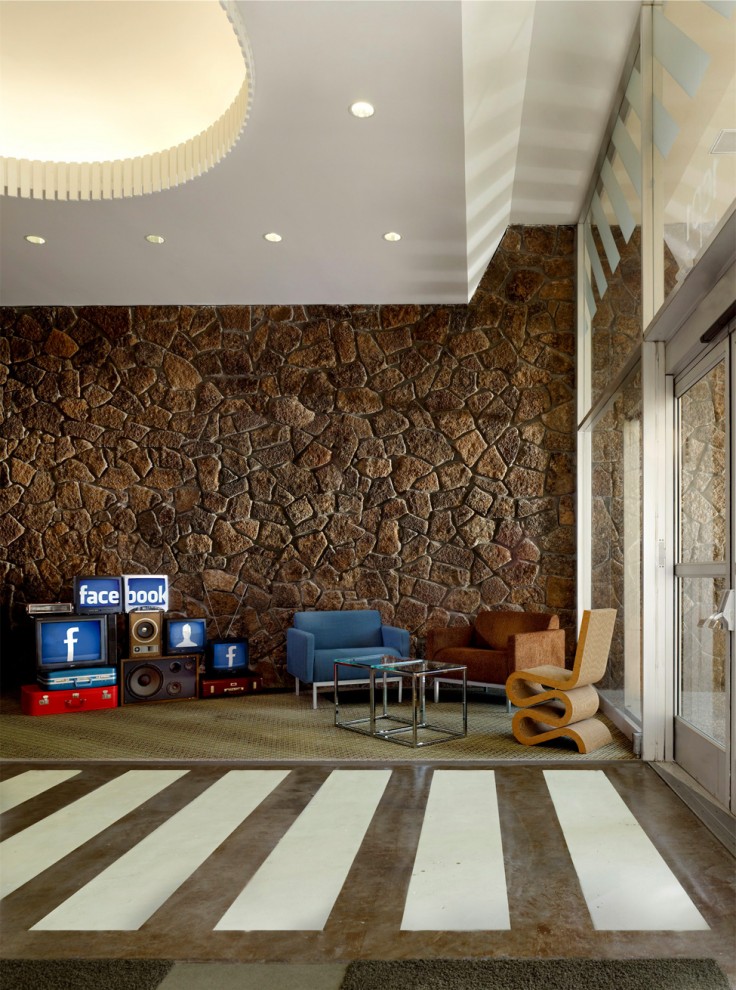
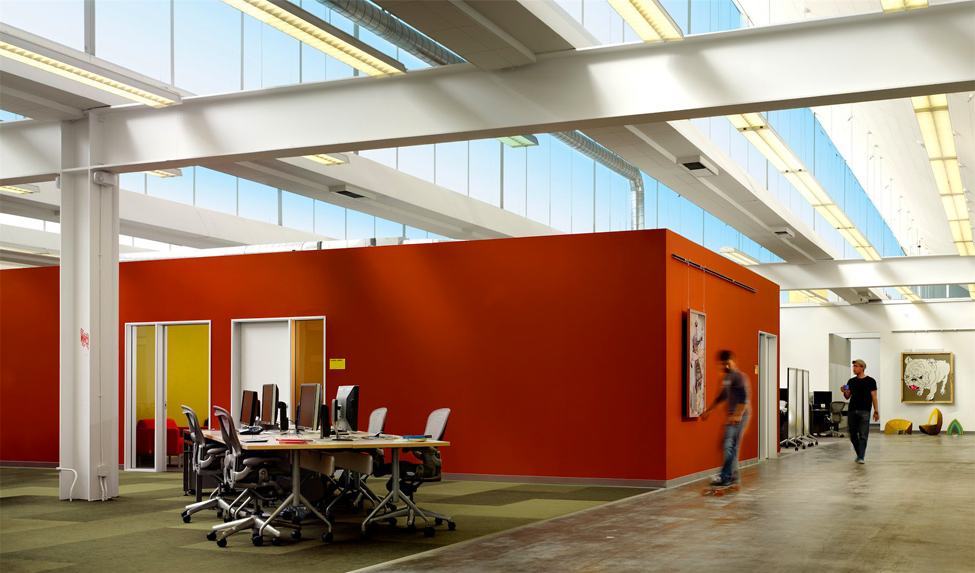
We can see that their office is not sophisticated but very common.
นักเรียนคงเห็นแล้วนะว่า ออฟฟิศใหญ่ของ  Facebook ก็ไม่ได้เลิศหรูสลับซับซ้อนอะไร แบบบ้านๆ ธรรมดาๆ (เพราะความ Hitech  จะไปอยู่ที่ Data Center แทน)

1309 Head office of Facebook
1.
2247 Head office of Facebook
2. 

3198 Head office of Facebook
3. 

4163 Head office of Facebook
4. 

5143 Head office of Facebook
5. 
6135 Head office of Facebook
6.
7133 Head office of Facebook
7. 
8120 Head office of Facebook
8. .
9104 Head office of Facebook
9. .
1097 Head office of Facebook
10.
11129 Head office of Facebook
11.
12107 Head office of Facebook
12.
1385 Head office of Facebook
13.
1482 Head office of Facebook
14.
1578 Head office of Facebook
15. Their office is like any common office, nothing is superb.
 ออฟฟิศดูธรรมดาๆ บ้านๆ เหมือนออฟฟิศทั่วไปที่ไหนๆ นั่นเอง  ไม่มีสิ่งไหนเลยที่เลิศลอยเกินเลย
1673 Head office of Facebook
16. The employees has never ware any uniform.
พนักงานของเขา ก็แต่งตัวแบบง่ายๆ บ้านๆ ไม่ต้องมีเครื่องแบบอะไรให้มากพิธี 

Visul Basic 6.0 : Exercise

    Visul Basic 6.0 : Exercise


Exercise 1


Calendar/Time Display

1 Design a window application that displays the current month, day, and year.  Also, display the current time, updating it every second (look into the Timer control).  Make the window look something like a calendar page.  Play with object properties to make it pretty.


2 Configure the properties of the related objects like the followings


3  Attach the source codes to the objects. There is only the Timer "timDisplay" object that we have to attach our source codes to.  Although there is no any variable declared, but we have to type the code "Option Explicit" at the General Declarations module.


Programming with Visual Basic 6.0


Programming  with Visual Basic 6.0 

What is Visual Basic? 

Visual Basic is a tool that allows us to develop Windows (Graphic User Interface - GUI) applications.  The applications have a familiar appearance to the user.

Visual Basic is event-driven, meaning code remains idle until it is called upon to respond to some event (e.g. mouse clicking, button pressing, menu selection, ...).  Nothing happens until an event is detected.  Once an event is detected, the code corresponding to that event (event procedure) is executed.  

How to program with Visual Basic? 


There are three primary steps involved in building a Visual Basic application:
1.    Draw the user interface  ออกแบบส่วนติดต่อกับผู้ใช้
2.    Assign properties to controls  กำหนดคุณสมบัติให้กับคอนโทรล
3.    Attach code to controls  ผูกติด code เข้ากับคอนโทรล

Stop Watch Application 

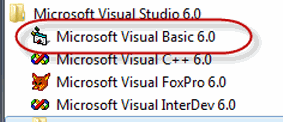
1 At the "Start-up Menu" of our Windows Desktop, let's find where "Microsoft Visual Studio 6.0" is, and click on it. Then we can see some shortcuts to the applications of the software suite, and "Microsoft Visual Basic6.0" is one of them and it is also our "target software" right now, let's select it.


2 We now at the main screen of Visual Basic 6.0 with its "New Project" window. Let's click on the "New" tab and select "Standard EXE" icon.


3 Before we go on, let's consider the components of the toolbar of Visual Basic 6.0.  Properties window, Run and Save project are what we have to focus on now.


4 Controls are the genius tools that can be attached by any codes that can control any events such as clicking mouse or pressing key. Now the "Command  Button" and the "Label" are the controls that we are going to use.


5 Visual Basic programming begins with a form which has been named "Form1" by default. Visual Basic form simulates itself as platform which can receive many kinds of objects that created by the controls. Any object has its properties that has been shown in the properties window.


6 Here we go on creating a design job like the following picture.  
    -  Using the "Comm
and Button" control to draw the three sequence command buttons, Command1, Command2 and Command3. 
   -  Using the "Label" control to draw the six sequence labels, Label1,
Label2, Label3, Label4, Label5 and Label6 


7 Click on "Form1", we can see its properties, rename it with "frmStopWatch" (frm is a pefix which comes from "form"). And change its caption to "Stop Watch Application".


8 Click on "Command1", yes we are about to specify the properties of this object. Rename it with "cmdStart" (cmd is a prefix which comes from "command button") and also refill its caption with "&Start Timing" (& is a prefix of the key letter that a user can press on this key together with the "alt" key instead of click on this command button). 


9 Do it the same way as the previous step. 


10 Do it the same way as the previous step.


11  Change only the captions of Label1, Label2 and 
Label3 according to the following picture.


12  Change the properties of the other last three labels, "Label4", "Label5" and "Label6" by renaming them to "lblStart", "lblEnd" and "lblElapsed" and erase their captions until they are blank.


13  Now we have just already designed and configured all of related objects, the next step of us is coding our program. Let's click on the menu-bar at the "View" command tab, then select the "Code" sub-command, the view-code window will show up. Yes, we are going to enter our source codes of our application here.

14  The first set of source codes is about the declarations. There will be the "(General)" at the left-top of the view-code window and the "(Declarations)" at the right-top. We have to type four lines of our following source codes.


15  This step is about attaching o
ur source code to a control object. The "cmdStart" is a command button we are going to attach the source code. Let's double click on this command button, yes, this action could bring us to a module or subprogram that could be driven by an event, _click ( ), that means this subprogram could work when this command button was clicked on.

What is about this source code?  It begins with assigning the recent time value (Now) to the variable "StartTime".  Then the method "Caption" stipulates that the label "lblStart" can show up data from the variable "startTime" with the "hh:mm:ss:" format.

17  This is the end of application with the only amazing word "End"


18  Congratulation to our tough project!. This is the output of our input and process. Yes, it is the "Stop Watch Application" of us.